

I used to sit at a hand-me-down dining chair for six, sometimes seven hours a day, and by 2pm my lower back had that dull, tight ache that made me stand up and pace the hallway instead of finishing the paragraph in front of me. I've worked from home for over a decade now, and for the first four years I told myself the chair didn't matter, that posture was a discipline problem, not a furniture problem. I was wrong. I burned through a budget mesh chair from a big box store that looked ergonomic in the listing photos and did nothing for my back pain within three months, and I spent another year assuming that was just what working from home felt like. Plenty of readers tell me the same thing, that they figured a sore lower back was the price of a desk job, full stop.
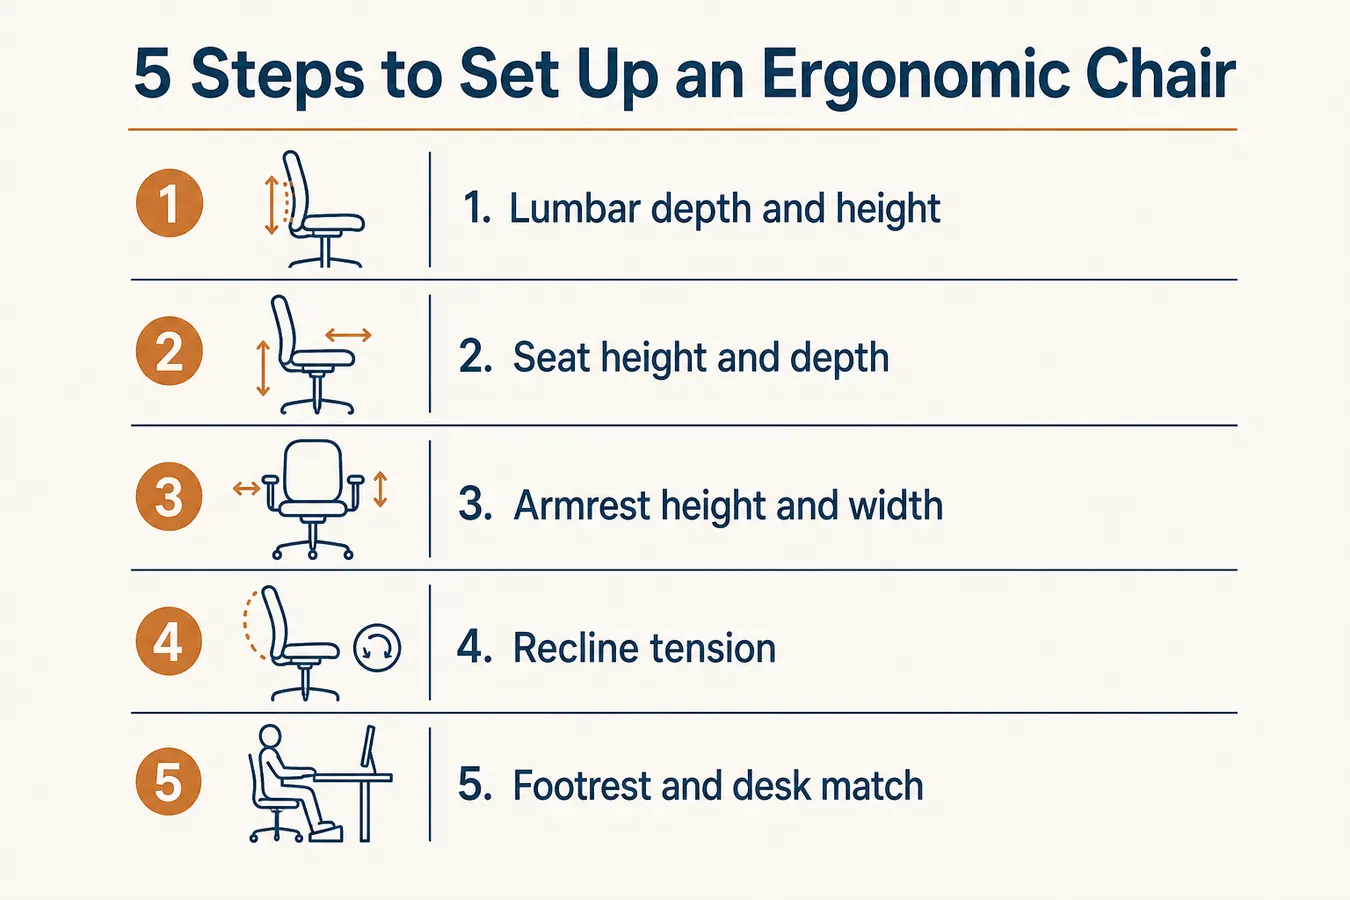
What actually changed things was switching to a real ergonomic chair, an SIHOO B100 PRO with adaptive lumbar support and a flip-out footrest, and then spending a weekend actually dialing it in instead of just sitting down and hoping. That second part is the piece most guides skip. A chair with good bones and a bad setup will still leave you sore by mid-afternoon, and a mediocre chair set up correctly can outperform an expensive one left on factory settings. This is the walkthrough I wish someone had handed me back then, the one I use now when I test office gear for Best Home Office Setup Hub and hear from readers who bought an ergonomic chair for back pain relief and are still hurting two weeks in. If that's you, the fix is almost never a different chair. It's five adjustments most people never make, and none of them take more than a few minutes once you know where to look, in this order: lumbar, seat height and depth, armrests, recline, and finally the footrest and desk match.
Still Guessing at Your Chair Setup? Fix the Lumbar Spot First
The SIHOO B100 PRO gives you the adjustable lumbar depth, seat depth, four way armrests, and built in footrest this whole guide is built around. Check today's price on Amazon before you spend another week adjusting a chair that can't actually get there.
Amazon Check Today's Price on Amazon →Step 1: Set the Lumbar Support to the Right Spot
Most ergonomic chairs, including the SIHOO B100 PRO, ship with the lumbar pad in a neutral, mid-height position. That's rarely where your spine's natural curve actually sits. Sit all the way back in the seat so your hips touch the backrest, then find the small of your back with your hand. The lumbar support should press gently into that exact spot, not two inches above it against your mid-back, and not below it against your tailbone. This one adjustment gets skipped constantly because it's small and easy to forget it's even there.
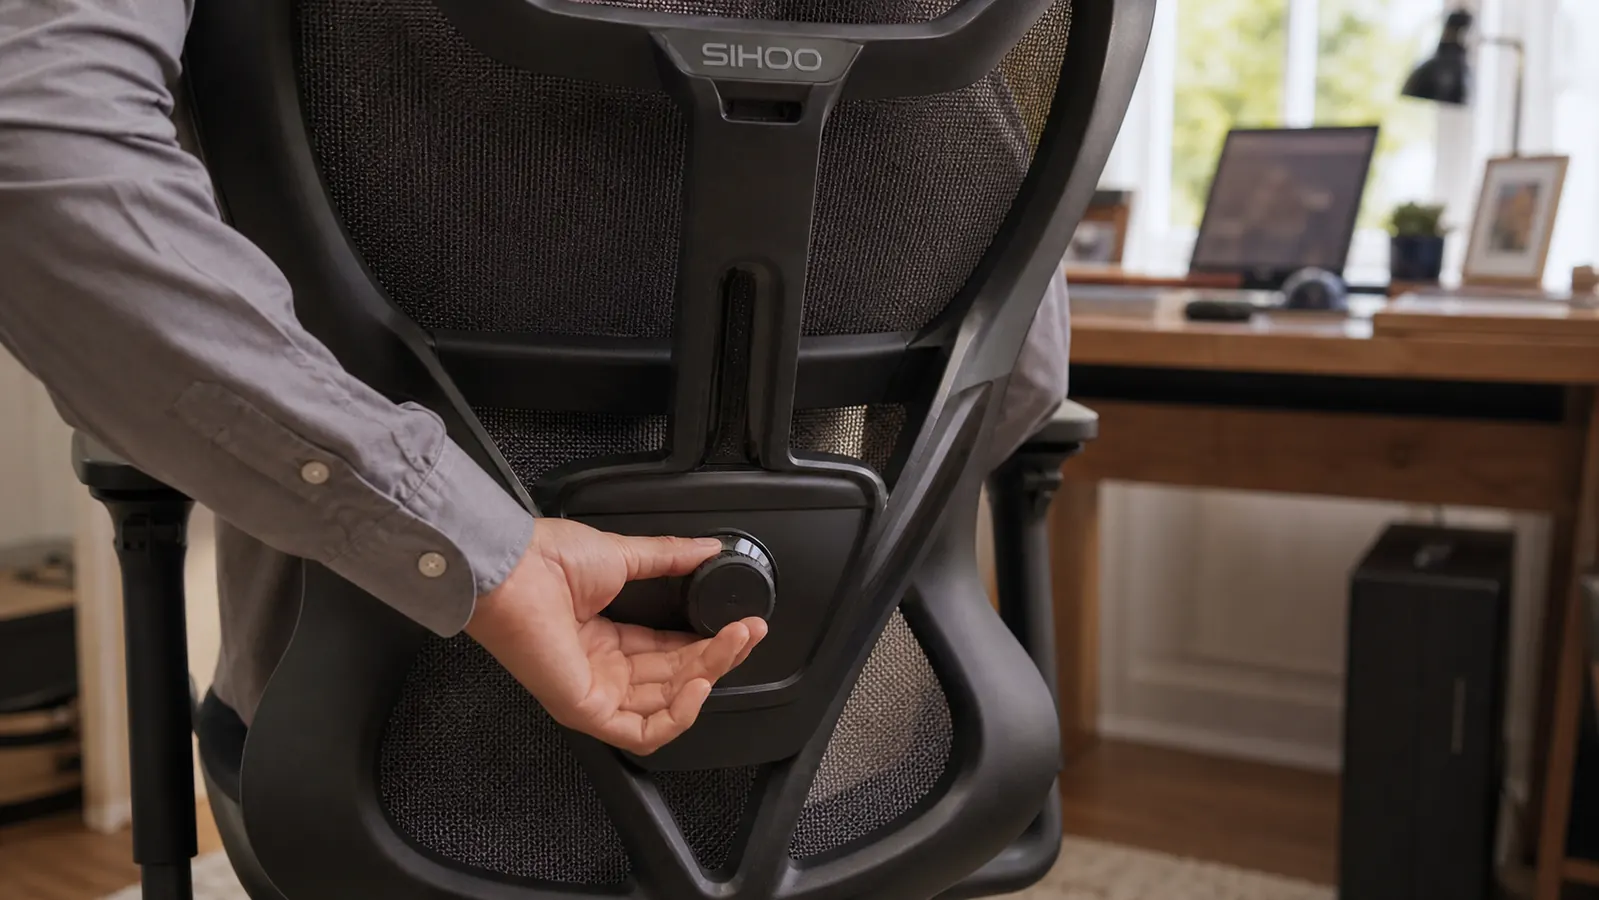
On the B100 PRO the lumbar pad slides up and down on a track and the depth adjusts with a small dial on the back panel. I run mine about an inch lower than the factory setting and one click forward from the loosest position, which took me two tries to land on. Get this wrong and every other adjustment you make afterward is compensating for it, which is why people fiddle with armrests and recline for weeks and never feel a difference. This is the single change that did the most for my lower back pain, more than the footrest, more than the armrests combined.
Give it a full workday before you decide it's wrong. Your back needs a day or two to stop bracing against the old position out of habit. If it still feels off after that, move it a notch and give it another day rather than chasing the perfect spot in one sitting, which is how people end up cranking the dial back and forth and concluding the chair doesn't work for them.
Step 2: Get the Seat Height and Depth Right
Seat height determines your hip-to-knee angle, and that angle is doing more work for your back pain than most people realize. Stand next to the chair and set the seat so the top of the cushion lines up just below your kneecap. Sit down and check that your feet rest flat on the floor with your knees at roughly 90 degrees, maybe a few degrees open rather than closed.
If your desk is fixed height and the correct seat height leaves your feet dangling, that's exactly what the footrest that comes with the SIHOO B100 PRO is for. Don't skip it and don't compromise the seat height instead. Dropping the seat to reach the floor puts your hips lower than your knees and rounds your lower spine forward, which is the exact posture that caused my back pain in the first place, and it happens slowly enough that you don't notice you're doing it until the ache shows up hours later.
Seat depth matters here too, and the B100 PRO's seat pan slides forward and back independent of the height adjustment. There should be a two to three finger gap between the front edge of the cushion and the back of your knees. Too deep and you'll either slide forward, losing the lumbar contact you just set up in Step 1, or you'll press into the back of your knees and cut off circulation over a long day, which shows up as tingling feet by hour four. Too shallow and you lose thigh support, which shifts more weight onto your lower back than it should carry.
Step 3: Adjust the Armrests to Take Weight Off Your Shoulders
Armrests get blamed less than they should for upper back and shoulder tension, which then pulls on the muscles that support your lower spine all day, even though the ache shows up lower down. Set the height so your shoulders stay relaxed and level, not hunched up toward your ears, with your elbows at roughly 90 degrees when your hands rest on the keyboard.
The B100 PRO's armrests adjust in four directions, height, width, depth, and a slight inward pivot, which is more range than most chairs in this price bracket offer. Widen them so they clear your body and just barely support your forearms, not so wide that you're reaching outward or so narrow that they push your elbows into your ribs. If you type with your wrists floating and your shoulders shrugged, that tension travels straight down your back over the course of a workday, and by the time you notice your lower back is sore, the actual cause has been your shoulders for hours.
I check my armrests every few months because I tend to bump the depth setting when I get up quickly. It's a small thing, but a half inch off on either side is enough to bring back the shoulder tightness I thought I'd solved. Worth a quick glance whenever your neck or upper back feels tighter than usual, before you assume you need a different chair entirely.

Step 4: Dial In the Recline Tension
The recline tension knob is usually underneath the seat, and almost nobody touches it. Leaning back should feel like resting into gentle resistance, not falling backward and not fighting to move at all. Set it so you can lean back comfortably to check your phone or take a call without the chair feeling loose or unstable underneath you.
I keep the backrest angle around 100 to 110 degrees, slightly reclined rather than bolt upright, which several posture studies on prolonged sitting point to as easier on the lower spine than a rigid 90 degree angle. Lock the recline once you find a range you like, the B100 PRO has a lock lever on the right side. A chair that rocks freely all day means your core is doing small stabilizing work constantly, which adds up to fatigue and back pain by late afternoon even if every other adjustment is right.
If you find yourself leaning forward toward the screen for long stretches, that's usually a monitor distance problem, not a recline problem. Pull your monitor closer before you crank the tension tighter to fight your own forward lean, since tightening the knob just fights the symptom instead of the cause.
Step 5: Match the Footrest and Desk to the Chair
Once the chair itself is dialed in, check it against your desk. The footrest should only be necessary if your feet don't reach the floor after Step 2, and it should sit flat, not propped at an angle that points your toes up or down for hours at a time. Your desk surface should let your elbows stay at that same 90 degree angle from Step 3 without your shoulders creeping up to reach the keyboard.
If your desk is too high, an ergonomic chair alone won't solve your back pain. You'll unconsciously perch or slide forward off the lumbar support to reach a comfortable typing height, undoing Step 1 within an hour of sitting down. This is the most common reason people write to me saying their new ergonomic chair isn't fixing anything, when the actual mismatch is a few inches at the desk, not the chair itself.
A cheap desk riser or a stack of sturdy books under a laptop can bridge that gap without buying new furniture. Check this before you assume the chair needs another adjustment, because a mismatched desk will mask even a perfectly set up chair, and you'll waste a week blaming the wrong piece of furniture.
What Else Helps
None of these five adjustments matter much if you sit still in them for eight hours straight. Set a timer for every 45 to 60 minutes and stand up, even for 90 seconds. Movement does more for everyday lower back discomfort than any single piece of furniture, ergonomic chair included, and it's the habit I've kept longest out of everything in this guide.
I also keep my monitor's top edge at eye level, because craning my neck down at a laptop screen undoes a lot of the lumbar work lower down. A basic monitor stand or arm, paired with a chair that's actually set up correctly, closes the gap that neither one fixes on its own. A cheap timer app and a five minute walk around the block between meetings costs nothing and stacks with a good chair setup instead of competing with it.
If your back pain is sharp, radiates down a leg, or doesn't ease up with better posture and movement, that's worth a conversation with a doctor or physical therapist rather than another chair adjustment. This guide is about everyday comfort and posture during a normal work day, not a substitute for medical care, and it isn't meant to diagnose or treat anything.
The chair did less for my back pain than the five minutes I actually spent setting it up.
Set It Up Once, Stop Thinking About Your Back
If you're working from a chair that doesn't adjust enough to follow these five steps, no amount of fiddling will fix that. The SIHOO B100 PRO has the range this guide depends on. See today's price and current availability on Amazon.
Amazon See Current Price on Amazon →